Warhammer 40,000 website has a page dedicated to Apocalypse, and a video explaining the rules! Check it out!
Rules seem pretty simple. Basically, you group your units into detachments, and it seems there's no longer any HQ requirement for most of them, though if you do include them they become commanders or warlords that help you draw more Command Assets. But you can otherwise build a flexible list, like 6 infantry squads in a Battalion, 3 Leman Russ tanks in a Spearhead, the same old Supreme Command Detachment with 3 HQs and a Lord of War, or the Super-heavy Detachment!
Once you've done organizing your dudes into detachments, you calculate their power. They use power, so that's what you add up to see if you have roughly the same power as your opponent.
Each turn is divided into 4 phases. Initiative, Command, Action and Damage Phase.
Initiative Phase
Not much to say here. Roll a D12, the one with a higher roll gets to go first. You alternate between phases, by the way, so if you roll a 7 to your opponent's 6, then you go Command phase, your opponent does his Command phase, you do your Action phase, your opponent does his Action phase, then you do your Damage phase before your opponent does his.
Command Phase
Each player will have a deck of 30 Command Assets, so you draw 1 card from it, plus 1 for each Warlord in your army (and if you have Astra Miltiarum Detachments with officers, they allow you to draw an extra 1). You are allowed to generate a maximum of 10 Command Assets, depending on how many Warlords you have and their abilities. Then you issue orders to each of your detachments, while making sure they're within command range (12" of each other). This is important, for if they are more than 12" away from their commander, they risk being routed/destroyed in the Damage phase. This is Out of Command. You also do your Deep Strike in the Command Phase (like my Kamikaze Troopers/pseudo Kasrkins). There are 3 orders you can issue, and each detachment gets only one order. After both players secretly decide their orders, they flip their order markers to reveal what each detachment was ordered to do.
Action Phase
Wait, you cry. What are these orders? Well, you carry out these orders in the Action phase, so that's why I moved to it immediately. There are three types of orders.
Advance Order - they move, and then they either shoot or fight in melee if they are in base contact with the enemy. Super-heavy units like Knights and Titans can both shoot and fight in the same turn, but they are special exceptions. Yay.
Aimed Fire Order - Your detachment can't move, but gets bonus to their shooting. Can fight, but will suffer a penalty to their hit rolls for melee (only affects your WS). So be careful - if you lose the initiative, your opponent might charge their dudes up to be in base contact with your guys and force you to fight. Advance is more flexible in that your guys can pull back and shoot, since there is no 8th edition Fall Back or whatever penalties. So no tarpits and all that.
Assault Order - Double movement, and then fight. Yay? No need to elaborate, right?
After rolling to hit for your shooting/fighting, roll to wound and depending on the weapon and the target (infantry or tanks), you roll a D12 and see if you succeed. 7+ to wound personnel and 9+ to wound tanks for most weapons. For every successful wound, place a small blast marker. Then swap out every 2 small blast markers for a single large blast marker. So if you have like 3 small blast markers on a wounded unit, turn it into a single large blast marker and a small blast marker.
Damage Phase
Now this is where you make the saves. If your guy has a large blast marker on him, roll a D6 and pray that his 6+ armor save saves him. If it's a small large blast marker, then roll a D12 and you'll have 7/12 chance of passing his save. Hmm. Units that lose half their wounds are critically wounded, and you need to roll for morale. Like in 8th edition, you roll a D6, and then add it to the number of blast markers he had on him (or wounds). If it's more than the unit's leadership, then he takes another damage. Ouch.
For those units that are more than 12" away from their commander, they...die. No, seriously. They just die for some reason. Don't ask me why or how. Maybe the Warp snatches them away. Makes me wonder what happens if the Commander dies - does the whole Detachment automatically perish because you have no Commander to stay 12" within of?
Then you see if any victory conditions have been achieved. If not...go for another turn!
...simple, right? No? Oh well...anyway, I'm going to try it out...and soon.
And whoever filmed poor Becca...dude, don't do that stupid side view where it looks like she's staring off at...something. I know she's looking into the front camera, but it's...just weird. It feels more natural when she's looking straight at us (or at least gives the impression that she does), and when the damned camera angle suddenly shifts to the side where she seems to be staring at...the side, it becomes annoying. Maybe I'm just being too fussy, but that was just bad filming, dude. Focus the camera from the front. Please.
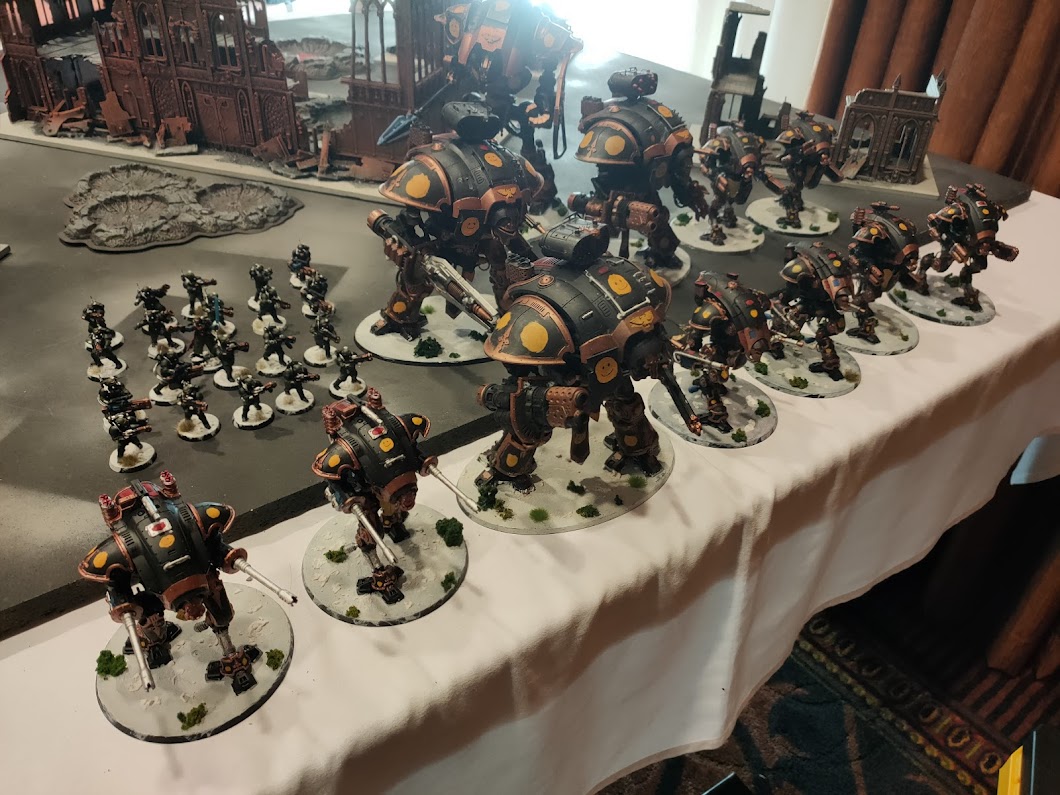
Featuring the Knight Houses of Ryusei and their household militia, the Ryusei Katanas, and the Skitarii maniples, Cybernetica Cohorts and Titan Legions of the forge world, Draconis IV.
About My Blog
Ave Omnissiah!

My blog is primarily my own personal fluff in the Warhammer 40,000 universe regarding the Draconis system such as the Knight House Yato in Ryusei, their Household Militia, the Draconian Defenders, and the Forge World of Draconis IV with its Adeptus Mechanicus priesthood, Cybernetica cohorts and Skitarii legions, and the Titan Legion, Legio Draconis, known as the Dark Dragons.
Featured Post
Retrospective: Imperial Knights
Today, we're going to a Retrospective on...Imperial Knights! I mean, this is primarily an Imperial Knight blog, so obviously if I'm ...

Subscribe to:
Post Comments (Atom)
No comments:
Post a Comment